
How to measure a narrow hallway for shoe storage
Compare frame, loaded and open shoe-storage projections with a hallway calculator, scaled examples and clear measuring steps for narrow halls.
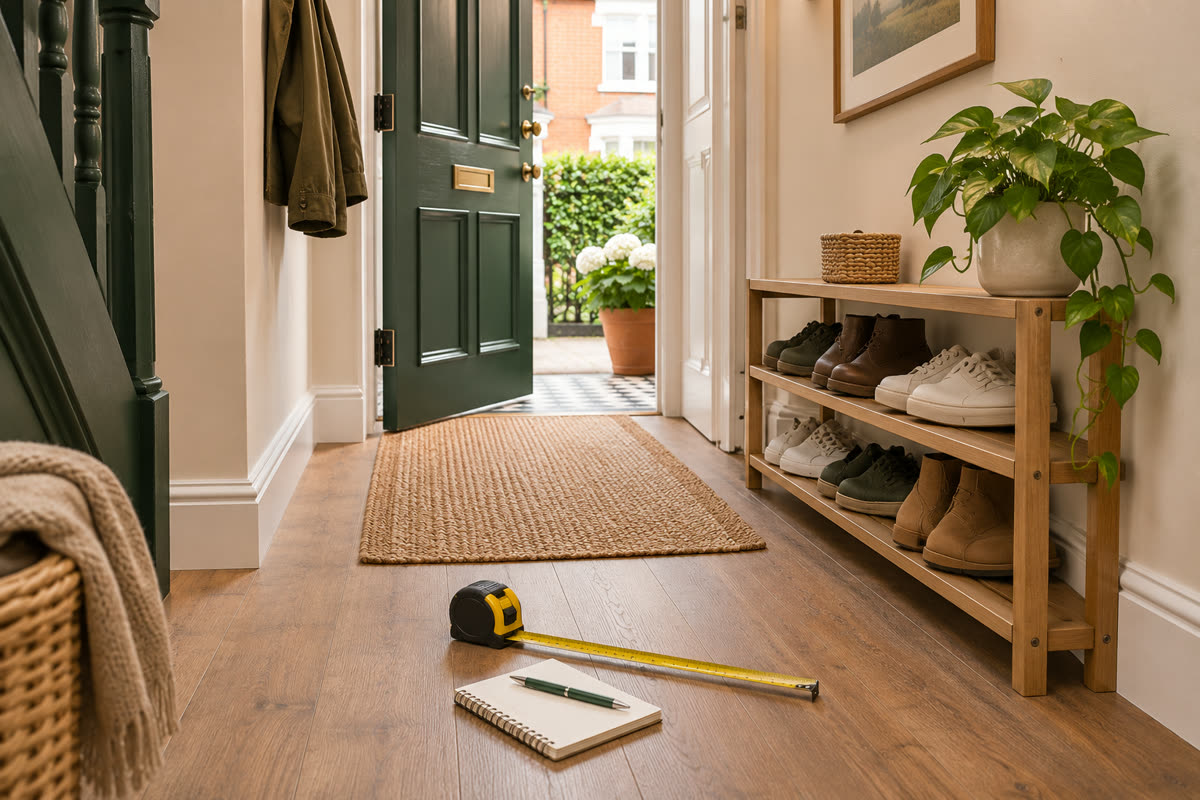
The useful measurement
Measure the hall with the storage in use
Record the furniture’s installed footprint, the space occupied by your shoes and the full opening movement. Then check the passage and every nearby door. A cabinet’s closed depth is only the starting point.
A narrow hallway often has several different widths. The space beside the front door may be generous, while a radiator, stair newel or door handle creates a pinch point further along. Start by choosing the precise wall where the storage could go. Take measurements there rather than using the widest part of the room.
Keep a tape measure, masking tape suitable for your floor, a notebook and your longest everyday shoes nearby. A cardboard rectangle representing the proposed unit is useful because it can be moved without buying furniture. Do not leave tape or templates where they create a trip or block the entrance.
Compare the frame, the loaded rack and the pinch point
A listed frame depth answers only one part of the measuring question. We calculated three illustrative layouts to separate the installed gap, shoe overhang, an opposite fitting and a cabinet’s open position. All three use a 120 cm wall-to-wall width at the chosen cross-section. The results are comparisons, not suggested minimum passage widths.
Swipe the table to compare all columns.
| Example | Frame / complete closed depth | Installed and loaded projection | Opposite fitting | Remaining loaded/closed width | Remaining open width |
|---|---|---|---|---|---|
| 1. Rack example | 30 | 36 | 0 | 84 | Not applicable to this rack example |
| 2. Rack example with an opposing fitting | 30 | 36 | 8 | 76 | Not applicable to this rack example |
| 3. Illustrative cabinet, not a product specification | 24 | 26 | 8 | 86 | 44 |
Rack example
1. The rack frame is not the loaded projection
A 30 cm frame, 2 cm wall gap and 4 cm of front shoe overhang reach 36 cm from the wall. In the illustrative 120 cm hall with no opposite projection, 84 cm remains. Using 30 cm alone would suggest 90 cm and overstate the width by 6 cm.
Limiting known width: 84 cm. Check movement and the complete route separately.
Rack example with an opposing fitting
2. Add the obstruction at the same pinch point
The same loaded rack still projects 36 cm, but an opposing fitting reaches 8 cm from the other wall at this cross-section. The remaining width is 120 − 36 − 8 = 76 cm. Subtracting only the 30 cm frame would overstate that width by 14 cm.
Limiting known width: 76 cm. Check movement and the complete route separately.
Illustrative cabinet, not a product specification
3. A closed cabinet does not describe its open state
This separate illustrative cabinet has a 24 cm complete closed depth, including its closed handle, and 2 cm wall gap. Against the same 8 cm opposite obstruction, its 26 cm closed projection leaves 86 cm. A maximum open wall-to-front projection of 68 cm leaves 44 cm. Opening reduces the remaining width by 42 cm; the 68 cm already includes the installed wall gap.
Limiting known width: 44 cm. Check movement and the complete route separately.
Keep the reference wall and the unknowns clear
Count the installed gap once. If the rear frame is 2 cm from the wall because of skirting or a permitted stand-off, that is one 2 cm gap, not two allowances. Add the frame depth and any front shoe overhang to that actual installed position. Do not assume you can increase the gap if a shoe or bracket catches: follow the exact fixing instructions.
Check rear overhang too. A shoe can extend behind the rear frame as well as beyond the front. With a 2 cm wall gap and 3 cm of rear overhang, the proposed position conflicts with the wall by 1 cm. The calculation cannot move an anchored rack forward or establish that a different orientation supports the shoe properly.
Use a full wall-to-front open measurement. The cabinet’s 68 cm figure in example 3 already includes its installed position and moving front. Adding the 2 cm gap again would count it twice. A listing that gives only closed depth cannot supply this figure; obtain the maximum open projection for the exact model and include the handle and contents where relevant.
Measure opposing items at the same place. A radiator, newel, shoe or open handle matters where its projection overlaps the storage across the hall. Do not subtract a radiator at one end from a rack at a completely different position and call that a real pinch point. Repeat the check at relevant heights and places, then map the actual door sweeps.
Compare the projections at your chosen position
Enter wall-to-wall width, not a clear width that already has the opposite fitting deducted. The planner compares one cross-section only. Use the real installed position, measure shoes in their intended orientation, and keep an unknown cabinet opening blank rather than entering zero.
Your measurements, in centimetres
Use the examples above to separate the frame-only subtraction from the installed, loaded and opening measurements.
Swipe the calculation table to see all columns.
| Calculation | Storage-side projection | Remaining width |
|---|
A positive result is a width subtraction, not a finding that the passage is suitable. Check doors, handles, movement, assembly, permitted fixings and the whole route. Rear overhang beyond the available wall gap needs resolving before treating the entered layout as workable.
Record usable wall length and installed projection
Measure the uninterrupted wall length at floor level and at the height of the proposed unit. Include sockets, switches, architraves and anything you still need to reach. A rack may fit between two door frames at its feet but meet a projecting handle or sill higher up.
Next record skirting height and projection. Some furniture sits in front of the skirting; some has a suitable recess or must be mounted in a particular way. Do not assume that tightening a fixing will pull a cabinet flush against the wall. Follow its instructions and establish the finished position before calculating the remaining passage.
Use four separate entries in your notes:
- Furniture width: the full span along the wall, including handles or side fittings that extend beyond the body.
- Installed depth: the distance from the wall to the frontmost point after skirting and any required stand-off are allowed for.
- Loaded depth: the furthest point reached by shoes, boots or other contents.
- Open depth: the furthest point reached by a drawer, tilted compartment or door during use.
Map every door movement
Open the front door through the movement you need in everyday use. Watch the bottom corner, the inside handle and the point where coats or a bag could catch. Check nearby cupboard and room doors as well; two separate items can fit when closed but collide when used together.
Mark the candidate storage footprint on the floor. Include the open position of any flip-down section or pull-out drawer. If the listing gives only closed dimensions, obtain the open measurement before ordering. A product photograph is not a reliable scale drawing.
Think through arriving with shopping, carrying a laundry basket and taking shoes on or off. For a bench, include where your legs and feet will be when seated. For low racks, check whether leaning down blocks the route for someone else. The aim is a workable arrangement for the household; a subtraction alone cannot establish a suitable or compliant passage.
Measure the rack with your shoes on it
Put the longest pair on a surface in the orientation you would use. Measure their front-to-back projection, including the heel. If shoes sit diagonally, use that diagonal arrangement rather than the sole length alone. Repeat with the tallest boots to check vertical spacing.
The SONGMICS example below has a 30 cm-deep frame. That does not mean every shoe fits within 30 cm. A larger trainer could project over the front; a raised heel can change the position in which it rests. Keep the loaded measurement separate from the frame figure.
For an open stretch of wall
SONGMICS 3-tier shoe rack
Three open tiers keep everyday shoes within reach. The 30 cm frame depth is useful where a deep cabinet would crowd the hall.
- Outside · cm
- 92 × 30 × 55
- Access
- Open shelves
- In the pack
- One rack
What to check Allow 92 cm of wall width and check how far your shoes project past the rails. Follow the supplied instructions for assembly and securing the rack.
View on Amazon — SONGMICS 3-tier shoe rackAn open rack makes overhang visible and allows you to choose shelf positions where the design permits. A closed cabinet needs another check: the shoe must fit inside the compartment and clear the mechanism as it tilts. Keep those questions in mind when exploring the formats in our hallway shoe storage guide.
Worked example: a 120 cm-wide hall
The 84 cm result describes this imagined layout. It is not a recommended minimum. You still need to assess door use, how people move through the hall and any requirements that apply to your home. Where the front door passes across the rack, repeat the check with the door open rather than accepting the closed arrangement.
Try a shorter rack along the wall as well as a shallower one. Reducing width can move the furniture away from a door arc, even if its depth stays the same. Moving occasional footwear to wardrobe storage or another room can also make the entrance work better.
Write down the decision before ordering
Keep a simple sketch showing the wall, skirting, door arcs and the candidate unit. Add the exact model and variant, closed dimensions, maximum opening projection and any fixing requirement. Record your longest shoes separately so you can compare another product without measuring everything again.
Before committing, check that the unit can reach this position through the entrance and that there is room to assemble it if required. Keep access to controls and sockets. Do not remove a required fitting, alter the door or leave a tall unit unsecured to make an unsuitable product appear to fit.
Questions before you choose
Do I measure from the wall or the skirting board?
Record the wall-to-wall width and the actual installed gap from the storage-side wall to the rear frame. Skirting or a required stand-off can affect that position; count the resulting gap once and follow the product’s fixing instructions.
Does a shoe rack’s listed depth include shoes?
The frame dimension and the loaded projection are separate. Measure front and rear overhang for your actual shoes in the intended orientation. Rear overhang greater than the wall gap conflicts with that proposed position.
What if I only know a cabinet’s closed depth?
Leave the open measurement blank. Obtain the maximum wall-to-front projection for the exact model, including the installed position and moving parts. The closed result cannot establish the space left while the cabinet is open.
Should I add skirting or stand-off to an open projection again?
Not when that figure is already measured from the wall in the installed open position. Keep the reference point clear. An extra-travel figure needs converting to a complete wall-to-front projection before using this planner.
Does a positive remaining width mean the storage is suitable?
It is a geometric result at one cross-section. Assess doors, handles, the full route and the household’s movement separately. It is not a recommended passage minimum or a compliance finding, and all required product fixings still apply.
About this measuring example
The rack reference uses the existing SONGMICS LSA303B02 catalogue entry. We calculated the three layouts from the stated inputs, separating the frame depth from installation, shoes, opposite fittings and opening. The hall and cabinet examples are illustrative. The formulas and download below explain the calculation boundaries.
Installed frame projection = actual wall gap + frame depth. For a cabinet, the entered closed depth includes its closed handle. Loaded projection adds front shoe overhang. Remaining loaded width = wall-to-wall width − opposite projection − loaded projection. For a supplied maximum open projection, subtract that full wall-to-front value and the opposite fitting from the hall width. The limiting known projection is the larger of the loaded and supplied open values; a blank opening is not assumed to be zero.
We compare rear shoe overhang with the actual wall gap and flag any excess without changing the installation automatically. The frame-only baseline deliberately omits the gap, shoes and opposite fitting to show how much that incomplete calculation can overstate the remaining width. The planner uses unrounded inputs and displays results to two decimal places, with a less-than-0.01 label for smaller nonzero differences.
The rack reference is the catalogue’s exact SONGMICS LSA303B02 variant, 92 × 30 × 55 cm. The manufacturer’s matching black 92 cm variant, SKU UKLB35SA303B02, gives a 30 × 92 × 55 cm product-family specification. Its selected product comparison and source record distinguish the 30 cm frame from shoe projection. Only that frame depth is a product input in these calculations. Hall dimensions, stand-off, shoe overhang, opposite fittings and every cabinet dimension are illustrative. An open rack has no cabinet flap to infer from this example.
The diagrams use the same 2 drawing units per centimetre for width. Their vertical bands separate visual elements rather than specifying furniture length, door arcs or a hinge mechanism. Neither the arithmetic nor the drawings establish a passage-width standard, accessibility result or door clearance. Check the exact model, installation and complete route.
Download the measuring inputs, calculated examples and assumptions (JSON). Analysis prepared November 2026; the product reference combines the existing exact-variant catalogue with the matching manufacturer variant.