
How to organise shoes in a shared hallway
Give each person room for daily shoes, size the shelf around real pairs and keep the route through the entrance clear.
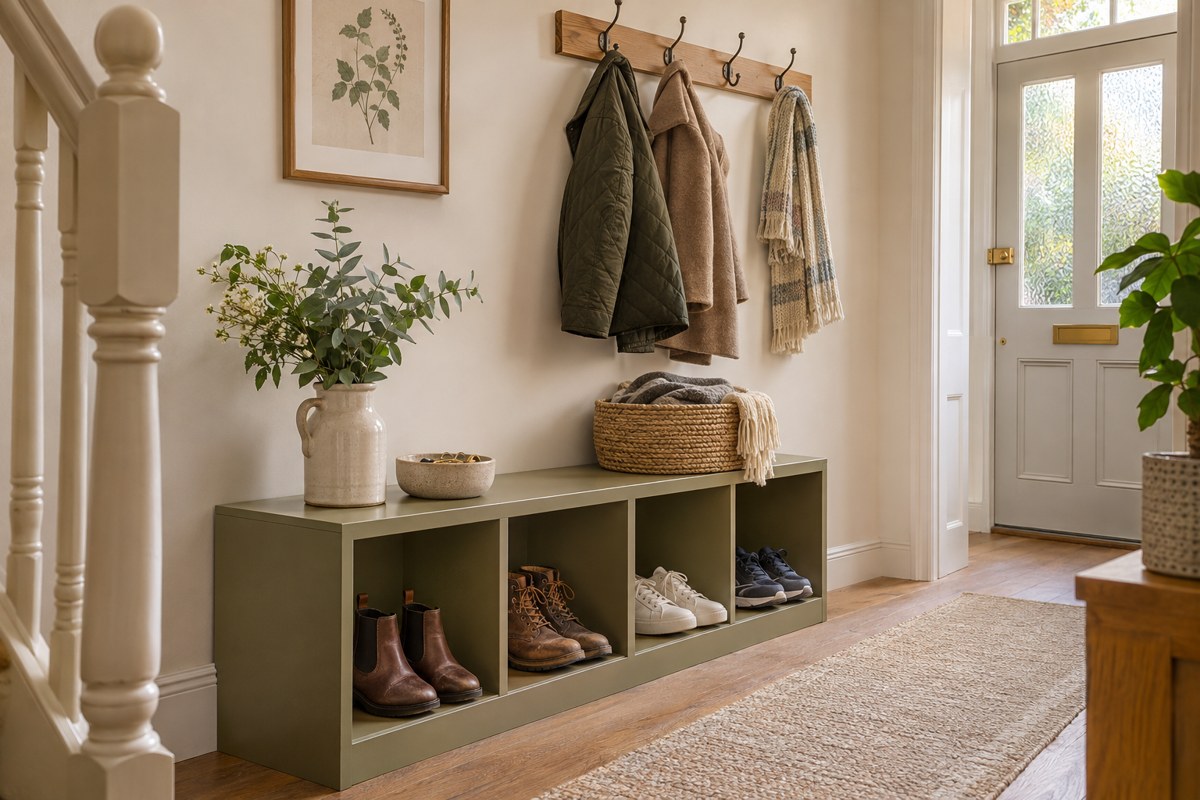
The main decision
Allocate space around daily pairs and the route
Measure the space each person’s shoes actually occupy. Keep only regularly used pairs near the door and leave a clear route while everyone uses the entrance.
Count the pairs that come and go each week
Ask each person which pairs they actually use from this door in a normal week. Someone who walks to work might use two pairs regularly. Another person may want one pair of everyday trainers and a pair for wet walks. Write down the largest pair in each group and note anything that needs to dry before it goes back onto a shelf. Leave occasional shoes in a bedroom or cupboard if the hall cannot comfortably hold them.
Include the things that are in the hall when it is busiest. A walking aid, school bag, pushchair or parcel can temporarily take up room people usually stand in. Give those things their own suitable parking spot if they need to stay close to the door. Treat a landing or corridor shared with other flats separately and keep the communal escape route clear. The layouts here are for organising a household’s own entrance.
Walk through the entrance while another person takes off their shoes. Try the same with the front door open as far as it normally goes. This shows whether the real problem is insufficient shelf space or a queue at one awkward corner. If two people reach for opposite ends of a shelf, moving a section nearer the side where each person stands can make the entrance easier to use without adding any furniture.
Allocate shelf width using the pairs themselves
Set each person’s priority pairs side by side on a piece of paper. Mark the space the soles take up and leave enough room to grip them without knocking the next pair. Measure the usable span between shelf posts, dividers or raised ends. Compare usable width with the combined widths of the shoes and the gaps you need. Count a tall pair separately if it needs its own shelf height.
Give someone with large shoes a wider or deeper section if it still leaves the hallway usable. Smaller pairs can use a compact space that would be impractical for those shoes. Use a shelf at an easy reach for anyone who struggles to bend or lift. A regular left-to-right order or a fixed label on the shelf edge can identify sections without adding dividers that eat into the width.
Check the loaded footprint at the narrowest point
Measure from the wall or obstruction to the furthest part of a loaded rack. Include any gap at the back caused by skirting, any toe or heel that projects and anything opposite it. A short run of wall by the door can have more space than a longer run beside a radiator. The narrow hallway measuring guide explains how to mark the door arc and compare the remaining passage.
For an enclosed unit, check the compartment opening with the hallway door in its usual positions. Try reaching the shelf with a bag over your shoulder and with another person using the route. With an open rack, see how far you step back when you pull a larger pair forward. Choose a position where shoes stay behind the usable edge and the exit can stay clear while the household uses the storage. If a separate drying tray is needed, check its outer lip and the boots placed on it.
Give wet shoes and visitors a temporary place
Set aside one dry shelf position or another suitable space for a visitor’s pair. If visitors come in groups, decide where the extra pairs will go before they arrive. A folding rack for visitors can work where there is a separate suitable wall and floor area. When there is no room for another rack, temporarily move household pairs into the hall cupboard and free an existing shelf.
Put wet shoes in their own suitable ventilated position with the flooring protected. Move them back only when dry according to the footwear maker’s directions. A busy household with a back entrance may prefer to use that spot for muddy and wet footwear. Keep the shared front-door space for the dry pairs everyone needs to find quickly.
Run the new layout through a normal week. If shoes keep ending up on the mat, check which group has no obvious home or is hard to put away. Move one pair out of the hall or change one person’s allocation before increasing capacity. Recheck after a seasonal change, when boots or school shoes can make a shelf arrangement that worked in summer too crowded.
Questions before you choose
How many pairs should each person keep in the hall?
Start with the pairs used most often at that door. Measure their space and allow for the household’s routine before giving anyone an extra shelf position.
How do we divide one rack between several people?
Measure each group side by side, including a hand gap. Allocate by the space each group uses and give the easiest reach to the people who need it.
Should each person have a different shelf?
A row can work well for a small group. Use different shelves where shoe height, reach or the position of the door makes a shared row awkward.
Can we use a communal landing for overflow?
Keep shared corridors, landings and escape routes clear. Plan footwear storage within your own home.
Where should wet shoes go?
Use a suitable ventilated spot outside the door swing and walking route. Follow the footwear maker’s instructions and return the pair to dry storage once it is dry.
How do we make room for visitors?
Free one easy shelf position or use another suitable room for temporary capacity. Try a folding rack only where its open footprint leaves the route clear.
How we put this guide together
We used UK fire service guidance on clear escape routes and made an illustrative shelf layout using example pair widths and grip gaps. The arrangement is for an entrance within the home.