
How to organise children’s shoes by the door
Give current pairs a low, reachable place, make similar shoes easy to tell apart and set aside a separate spot for wet school shoes and wellies.
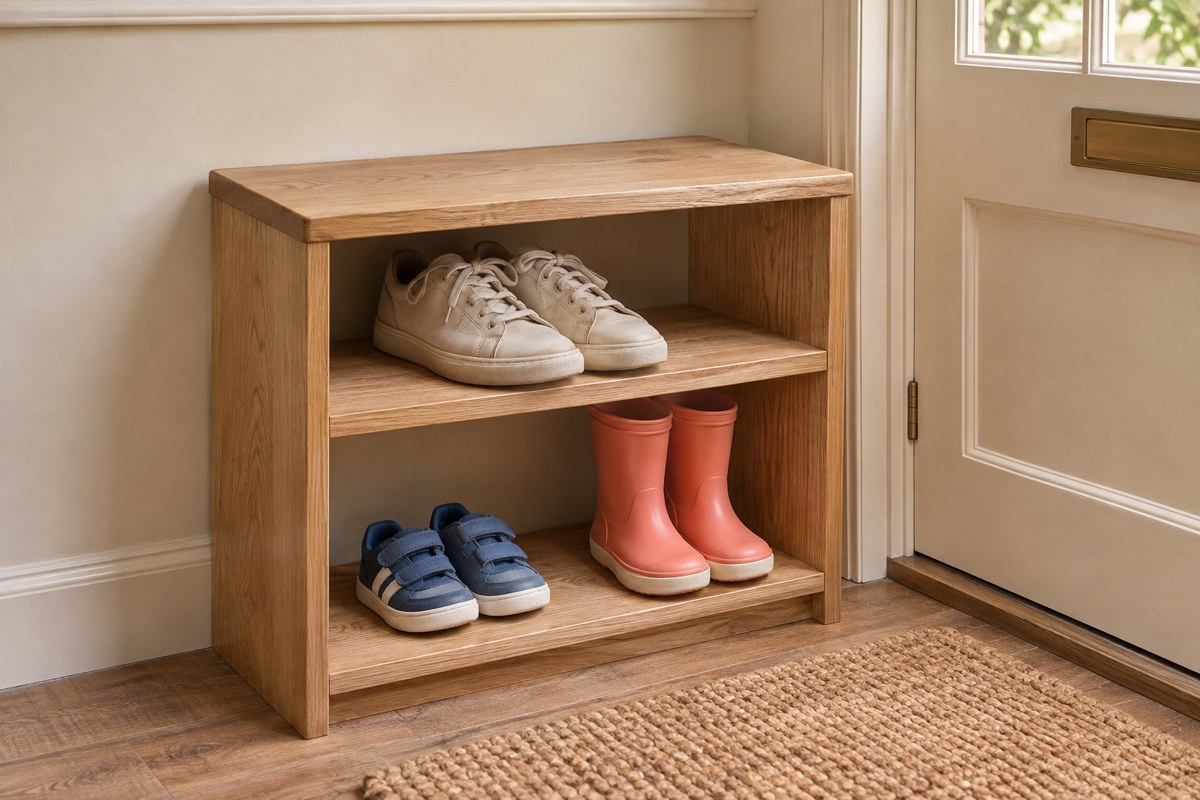
The main decision
Put the current pairs where children can reach them
Give each child a low place for the pairs they use now. Check that the shelf supports small soles, and put wet pairs and spare sizes in their own suitable places.
Keep current pairs together and easy to recognise
Choose the pairs each child actually uses at this door. School shoes, everyday trainers and wellies are a sensible starting group for many routines. Work from the child’s current pairs and the household’s week. Keep spare sizes, hand-me-downs and occasional pairs in a separate location so they do not compete with footwear needed in the morning. Store shoes that need checking or cleaning apart from the ready-to-wear pairs.
If several children have similar shoes, use the same position for each child every day. A secure label, an assigned cubby or a simple left-to-right order can make a pair easy to find. Keep left and right together and turn each pair so the child can see the fastening. For similar pairs, show each child how to recognise their own shoes before you move the position.
Use the footwear maker’s fit guidance and check the fit as the child grows. Clarks gives separate guidance on growing room and how the shoe holds the heel. A storage label can help you group sizes, but use the actual fit to decide which pair is current. If you are keeping an outgrown pair for someone else, clean and dry it as directed, then put it away in the spare-size group.
Make the daily shelf reachable from the floor
Choose a low, stable position where the child can reach a pair without climbing or pulling on furniture. Follow the exact assembly and securing instructions, and keep doors and moving fittings usable. Check that a shoe can sit flat without falling between the rails. Small soles can need a continuous support surface even where an adult pair rests securely on two rails. Use a suitable solid shelf or an insert the maker permits if the spacing does not suit smaller shoes.
Measure the child’s largest pair and leave space for the hand that removes it. A tiny trainer can be easy to fit at the rear of a deep cubby and difficult to reach from the front. Mark the usable front area, then put current pairs near that edge with the soles fully supported. Keep a tall boot upright where the maker recommends it and allow space to lift the shaft past the shelf above.
Keep any seat clear and follow its instructions. Try the existing shoe-bench guide if the easiest spot is beside a bench. Where there is a very narrow entrance, use the hallway measuring guide to check the door and the route with footwear and bags in their normal positions.
Set aside a separate place for wet pairs
Decide where wet footwear will go as soon as it comes off. A shallow, suitable tray on level floor can catch drips from wellies if the tray sits outside the door arc and the walking route. Check the flat usable base against the actual soles. Clean and dry each pair according to its maker’s guidance. Clarks advises natural drying for its wet school shoes away from direct heat, and waiting until the inside is dry before storing them. Keep a closed cupboard for dry pairs.
For a small group, a compact tray can create a separate wet spot beside the low dry shelf. The Relaxdays set includes three trays, so you can use one near the front door and the others only if they have a purpose. Compare its usable base with the child’s wellies before choosing a position.
Separate small wet-shoe spots
Relaxdays compact boot trays, three-pack
Three shallow rimmed trays. Each has a published flat inside area of about 34.5 × 24.5 cm.
- Outside · W × D × H
- 35 × 27 × 3 cm each
- Access
- Open raised-edge trays
- In the pack
- Three trays
What to check Lay out the actual soles before choosing a position. Check that the rim sits outside the door swing and walking route.
View on Amazon — Relaxdays compact boot trays, three-packIf the front hall is used by the whole household, put wet pairs near a better suited entrance or in a suitable utility area. Have a clear rule for where a child leaves wet shoes while an adult checks them. The back-door layout guide explains how to separate the changing spot, wet footwear and ready-to-wear pairs.
Try the layout during a school morning
Set up the first few pairs and go through the routine once at your normal pace. Check where the child stands when taking their shoes out and where they put the other pair when they change. Keep the front door and exit route usable throughout. Move the most-used pair to the point where it can be picked up with the fewest movements and move any overflowing group to another spot.
If school shoes need to be worn again before a wet pair has dried, agree where the household keeps any suitable spare. Put that pair in the same reachable position for the morning rather than adding several choices to the daily shelf. Return the original pair only after it is dry.
At the end of the week, check that the children can return shoes without pushing them onto the floor. A shelf that works for trainers might need a different layout when wellies come back into use. Remove outgrown or rarely used pairs and remeasure the new everyday pairs. If two people need the same space at once, see the shared hallway guide for allocating space by access and pair width.
Questions before you choose
What shoes should stay by the door?
Keep the current pairs the child uses regularly at that entrance. Put occasional pairs, spare sizes and hand-me-downs elsewhere.
What if small shoes slip between the rails?
Use a suitable solid shelf or a compatible insert that supports the whole sole. Check the resulting height and the maker’s guidance.
How can children tell similar pairs apart?
Give each child the same shelf position or cubby every day. Use a secure label or an easy-to-remember order.
Can wet school shoes go straight in a cupboard?
Follow the footwear maker’s drying guidance. Let the inside and outside dry fully before putting the pair into closed storage.
Where should wellies sit?
Put them in a position that supports the soles and leaves room for the shaft and for lifting. Keep a suitable wet pair off the dry shelf until it has dried.
How often should we review the shelf?
Review it when sizes, seasons or the school routine change. Follow footwear fitting guidance if you are unsure whether a pair still fits.
How we put this guide together
We reviewed Clarks’ fitting and drying advice and used illustrative shelf examples to explain comfortable reach and sole support. The figures are illustrative.