
How to organise deep wardrobe shelves
Compare front and back storage layouts on deep wardrobe shelves, with calculated depth allocations, box orientation and a practical removal sequence.
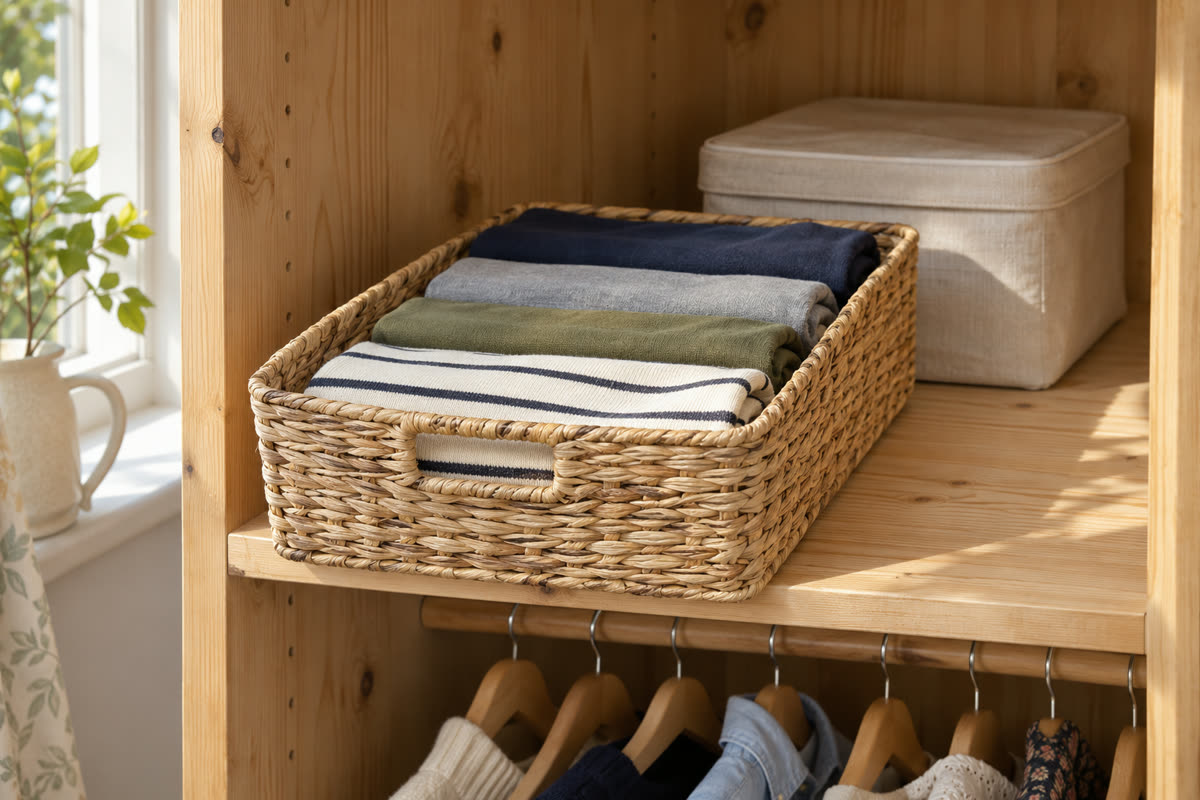
The main decision
Make the front row easy to move
Store everyday clothes where you can reach them in one motion. Use a single pull-forward group or an easily moved front bin for items that sit in front of a back row. Measure the real opening, then check you can lift the loaded container without disturbing the shelf above.
Find the depth you can use without rearranging the shelf
Measure from the front edge of the shelf to the back panel. Then close the door slowly and note where it, its hinges or any inner fittings sit in relation to the shelf. A bin that extends right up to the front edge can still obstruct a door catch. Open each door to its usual position and measure the narrowest part of the opening you need to pass through.
Now place the first group of folded clothes at the shelf front. Reach in as you would on a normal morning. Find the farthest point you can reach without leaning on the wardrobe or moving the group in front. Mark it with paper. Repeat at each shelf height. A shelf at eye level can be easy to see and hard to retrieve from, while a lower shelf may give you room to grip both sides of a bin.
Take note of shelf strength and support condition. Use the wardrobe instructions for load limits and distribute weight as directed. If a shelf bows, a support is loose or the cupboard needs to be secured, resolve that before adding containers. Keep dense contents lower and reserve higher shelves for light groups that are easy to control.
Give the front and back different jobs
Use the front for items that leave the wardrobe often. Fold stacks to a depth you can see and reach. Keep enough space above each pile to remove a jumper from the middle without having to lift an entire shelf of clothes. Where stacks fall sideways into each other, a shelf divider may preserve width better than a thick-sided bin.
If you use a second row, reserve it for things you need occasionally, such as seasonal clothing or extra pillowcases. Make each front container light enough to lift and choose a clear place where you can put it while you reach the back. Label the rear group where you can read it from the opening. If the back row disappears behind tall bins, keep a simple list inside the door or use the back for one obvious category.
Compare the storage depth with the removal plan
We expanded the 56 cm shelf example into four layouts. A door catch limits locally usable depth to 52 cm, a 4 cm reduction from nominal depth. Use 52 cm once as the clear starting dimension; do not deduct the same catch again. The first two rows use illustrative 28 cm and 21 cm containers. The last two use the published outside footprint of the Really Useful 10L and remove the rear case completely.
Swipe to compare the depth allocations.
| Layout | Front item | Rear item | Front setback + between-row gap | Occupied depth | Unallocated depth |
|---|---|---|---|---|---|
| Two rows before handling allocations | 28 | 21 | 0 + 0 | 49 | 3 |
| Same two rows with explicit allocations | 28 | 21 | 2 + 1 | 52 | 0 |
| One 10L box, 52 cm side front to back | 52 | 0 | 0 + 0 | 52 | 0 |
| One 10L box, 34 cm side front to back | 34 | 0 | 0 + 0 | 34 | 18 |
Plan view · two rows
Back-row access depends on moving the front group
The rear case sits behind a 1 cm gap, a 28 cm front bin and a 2 cm front setback. The 3 cm left by the bodies alone has already been assigned. A handle that needs more room changes the layout.
The side-by-side clear width in this drawing is 60 cm, purely to show the depth bands. Check the actual opening and grip width separately.
Plan view · one box
Turning one box trades depth for width
The 10L’s 52 cm side placed front to back uses all 52 cm of usable depth before any handling allocation. Turning it puts 34 cm front to back, leaving 18 cm of unallocated depth, while increasing its width across the shelf from 34 to 52 cm.
This is a single-box alternative. The removed 21 cm rear case cannot be put back into the 18 cm remainder: it would exceed it by 3 cm even before a gap.
Write the removal sequence before keeping a second row
For the two-row layout, the access sequence is: remove the front group, put it on a suitable clear surface, withdraw the rear case, then return each group to its assigned position. That surface belongs in the plan. If the only available place is the floor in a busy route, move the occasional group elsewhere or use a single accessible container.
A single pull-forward group removes the front-row dependency. It does not remove the need to support and control the box while it comes out. Compare its widest lid and handles with the narrowest opening, check the lift over any shelf lip and measure a full withdrawal route outside the wardrobe.
For frequent clothing changes, a shallower open bin can be more direct than a shallow lidded case. The 10L’s 7 cm minimum inside height suits thin groups; the 8.5 cm outside height is the figure for shelf clearance. Neither number establishes a loaded weight or a suitable shelf load.
Choose a container you can pull forward or lift out
For folded layers, measure the stack you actually make. Compare its width and depth with the bin's inner base, especially where the sides taper. Compare the box's widest outer dimension with the clear opening. Fabric handles can fold down, but still need space for fingers. Fixed handles, clips and rims can affect both the opening and the distance to the door.
A shallow rigid lidded box can be useful for a thin group of occasional items. The Really Useful Box below has a 52 × 34 cm outside footprint and 7 cm of internal height. Place the 52 cm side along the depth only if your shelf can support it and you can grip and retrieve it through the opening. The lid needs room to come off after withdrawal, so this example suits flat items you reach less often.
For very low beds
Really Useful Box 10L Clear
An 8.5 cm high box for flat puzzles, spare pillowcases or craft supplies. Its shorter footprint can work in the bay between a bed leg and a centre support.
- Outside · cm
- 52 × 34 × 8.5
- Inside · cm
- 46 × 29.8 × 7
- Capacity
- 10 litres
- Access
- Removable clip lid
What to check The 7 cm internal height limits what you can put in it. Plan to pull the box far enough out to unclip and lift the whole lid.
View on Amazon — Really Useful Box 10L ClearFor frequent access, look at open or handled wardrobe bins. Keep the load close enough to the opening to grasp both sides. A sliding container can work on a suitable surface if it remains supported during withdrawal. For a fitted runner, compare pull-out wardrobe baskets and check compatibility with the frame, hinge and door positions before buying.
Try a week of retrieval before adding more storage
Set up one shelf and use it for a week. Notice which groups you forget, which pile collapses and which bins are too heavy to remove comfortably. Move a busy group forward before adding a label or another compartment. If you keep returning a pair of trousers to the wrong bin, it may need an easier place rather than a more detailed label.
For sliding doors, keep each front bin behind a clear opening and avoid making the only handle sit behind an overlap. For hinged doors, move anything that catches on a hinge at the moment you start lifting. Our wardrobe measuring guide gives you a bay-by-bay check. A shelf riser can split unused height if two short stacks would be easier to reach.
Questions before you choose
What should go at the back of deep shelves?
Keep occasional groups there only when the front group is manageable to remove and has a suitable set-down place. Identify the rear group from the opening so you do not have to unpack both rows to find it.
Do two rows of bins make better use of depth?
They can use more of the shelf, but the rear row depends on removing the front one. Add the front setback and between-row gap before calling leftover depth spare; also check width, grip, lifting and loaded retrieval.
Does a box using all the shelf depth fit?
An equal depth leaves no numerical difference. It does not establish appropriate support, lid or handle access, door closure or a removal path. Compare the complete outside dimensions and the exact shelf instructions.
Can I use a pull-out basket instead?
Only with the documented compatible frame, runners, fixings and clear opening. Check door alignment and full extension in front of the wardrobe. Matching nominal depth is insufficient.
What belongs on a high deep shelf?
Choose light occasional groups you can control and retrieve comfortably. Move frequent or heavy items to an easier height and follow shelf load and installation instructions; filling all available depth is not the goal.
How we put this guide together
The layout examples use illustrative measurements and the manufacturer's published size for the exact Really Useful Box variant. We distinguish nominal depth, usable shelf depth and the space required to lift out a container.
Our comparison uses the inputs below and the stated formulas. Room dimensions and handling allowances are illustrative; named product dimensions are kept separate from them. Analysis prepared November 2026.
- Usable-depth reduction = nominal depth − locally usable depth.
- Occupied depth = front setback + front container + gap between rows + rear container.
- Unallocated depth = usable depth − occupied depth.
Calculations use unrounded inputs; displayed results are rounded to two decimal places where necessary.
- The 56 cm nominal / 52 cm locally usable shelf and the 28 cm front / 21 cm rear containers are illustrative. Those containers are not the Really Useful box.
- The 2 cm front setback and 1 cm gap are illustrative allocations within usable depth, not extra reductions of an already measured clear depth.
- The plan views use a 60 cm shelf width only to draw the boxes; no hinge or grip clearance is inferred.
- For the Really Useful example, outside dimensions are approximate maxima including lid and handles. The rear case is removed entirely in both single-box alternatives.
- A spare-depth result does not establish finger access, turning room, a lifting path or shelf load. A second row requires a suitable place to put the removed front container.
Sources: Really Useful 10L outside and inside dimensions.