
How to use vacuum storage bags for bedding
Pack, seal and evacuate a bedding storage bag. Check the fabric care instructions, fill line, valve and the size of the sealed bundle.
The main decision
Keep the zip clear and follow the instructions for the valve
Pack clean, fully dry bedding that can be compressed. Leave the fill line and zip clear, close the whole seal, then remove air with a compatible pump or hose. Check the shape and the closure again before storing the bag.
Prepare the bedding and make a fold that fits
Check the care label and the maker's storage guidance. Some fillings are intended to stay lofty in storage. If the instructions call for a breathable bag or say to avoid compression, use an appropriate fabric bedding case instead. Keep the bedding and bag clean and completely dry before you pack. Pay attention to thick seams or a duvet's centre after washing, where the filling can take longer to dry.
Set out the bedding on a clean, smooth surface. Fold it so it fits through the bag mouth without dragging against the zip. Put thicker folds beside one another if you want a flat shape and keep any button, zip pull or other hard piece away from the film. Avoid folding against the valve. A useful starting point is to pack one manageable group rather than filling the largest bag with everything on the shelf.
Measure that folded group against the fill line and the length and width you can use inside the bag. Nominal dimensions are usually the outside measurements. Leave room to close it with the fabric lying flat. Compare bag sizes for bedding if you need a different mouth width or more room around a thick fold.
Pack and close the whole zip
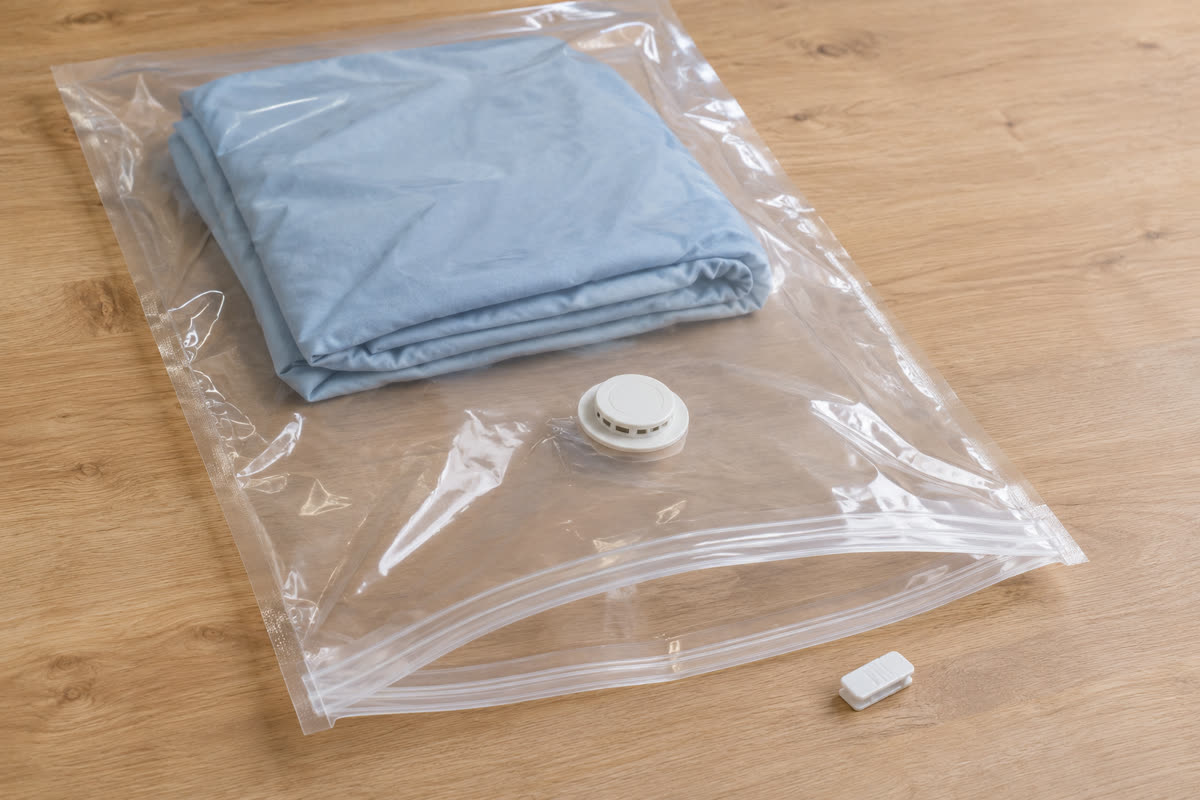
Lay the bag flat with the valve accessible. Hold the mouth open and guide the bedding in. Arrange the fold below any printed fill line and give the zip enough space to lie flat. If the material comes up to the closure, take out an item or refold the group before you seal it. Look for fibres, threads or any loose packaging between the tracks.
Use the slider if the manufacturer supplies one and follow its directions for closing. Support the bag so the two tracks line up. Run the slider or your fingers along the full zip as directed and check both corners. A partly closed section can look flat while leaving a small route for air. If the seam is twisted, open it and reset the fold rather than forcing the slider past a lump.
Remove the air using the compatible fitting
Follow the instructions for the exact valve and keep any internal seals in place. A bag made for a vacuum hose needs a nozzle that sits against the valve as the maker shows. A kit supplied with a manual pump may use a different connection. Avoid forcing an attachment or trying to prise the inner valve open. Check whether the instructions call for leaving the outer cap loose or removing it while you evacuate.
Keep the bundle supported while you remove air. Smooth out the material away from the valve if the bag instructions allow and the folds need help settling flat. Stop at the level of compression appropriate to the bedding and bag. Replace or close the cap as directed. Recheck the zip ends, the shape of the bundle and whether the valve sits where it can be stored without pressure on it.
Store the bundle and reopen it as directed
Measure the bag after sealing at the thickest point, including the cap and any folds of film. Compare it with the shelf opening and the shelf itself. Put it on a smooth supported surface and keep sharp edges, fasteners and rough boards away from the film. Leave enough room to remove it without dragging the valve under a shelf lip. For a low bed, use the under-bed measuring guide to check the complete route.
Make a note of the contents and leave the bundle where you can check it after the seal has settled. If it expands, work through the zip, valve and puncture checks before putting it back. For bedding you reach for often, separate sets into smaller packs or use a case you can open without resealing.
When you need the bedding, open the bag as directed and let the contents recover their shape in line with their care guidance. Inspect the film and closure before using the bag again. Keep empty plastic bags and small closure parts away from children.
Questions before you choose
Can I vacuum-pack any duvet?
Check the duvet maker's storage directions. Use a breathable case when the filling needs to retain loft or the maker advises against compression.
Can I use a hand pump?
Use a pump that the bag maker supports and that fits the valve. Some bags come with their own pump.
Why does the zip keep opening while I pack?
Reduce the load and keep the material below the fill line and away from the closure. Check that the tracks align and can sit flat.
Do I take the valve out to remove air?
Follow the exact valve instructions. Many designs need only the outer cap opened or removed while the inner seal stays in place.
How do I check the bag is ready for storage?
Check both ends of the zip, fit the cap as directed and measure the whole bundle. Watch for renewed swelling before putting it into a tight space.
Can I reuse a vacuum bag?
Reuse it where the maker permits and the zip, valve and film are intact. Open it as directed, then inspect it before filling it again.
How we put this guide together
We reviewed the packing, zip and valve instructions published by Packmate, Genie Space and Neusu. Valve and pump steps vary, so use the instructions for the bag you own and the care guidance for your bedding.