
Why vacuum storage bags reinflate and how to check the seal
Check a vacuum bag that puffs up again. Isolate problems at the zip, cap or film before deciding whether to reseal or replace it.
The main decision
Check the zip first, then the valve and film
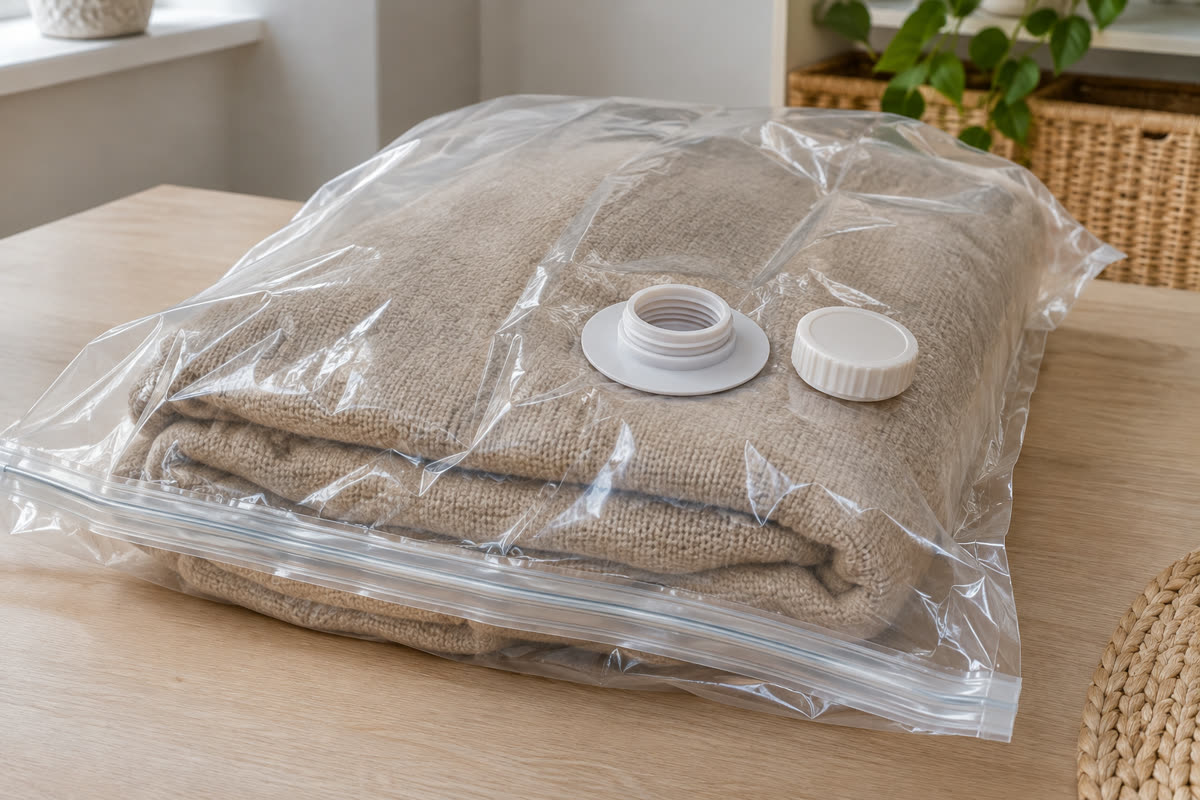
Remove the bag from its shelf and take any pressure off the seal. Check the zip ends and fill level, then fit the valve cap as directed. If a correctly packed bag keeps expanding, inspect the seams and film for damage.
Find out when the bag starts to expand
Pull the bag out with both hands and put it on a clean, smooth surface. Check whether it swells immediately after the hose comes off, later while it sits flat, or only after you have slid it into a shelf. The timing is useful evidence. A bag that changes quickly on the table needs a seal check there. A bag that keeps its shape on the table but expands in the cupboard may be catching on the way in or pressing against something once stored.
Look at what has actually changed. Soft folds can relax into a different shape even when a bag remains compressed. Compare the height at the same place and look for growing pockets of air. Note how long it took to change, whether you reopened it, and where the closure was when stored. Move it away from a tight shelf while you investigate.
If the bedding needs a specific degree of compression, follow its care advice rather than trying to make it as flat as possible. Our vacuum bag sizing guide explains how the load, opening and fill space work together.
Check the whole zip and the space below it
Open the bag as directed and look along both tracks. Check for lint, fibres or a corner folded between the two sides. Clean the accessible seal as the maker allows and let it dry before resealing. Put the bag on a flat surface so the tracks can align, then close from end to end as instructed. Pay particular attention to the corners where a slider can stop short.
Check the fill line. A thick fold pressing against the zip can pull it apart again after you close it. Take out part of the load, or change the fold so the seam can lie flat. Repack the smaller load and remove air using the intended hose or pump. Follow the step-by-step vacuum bag guide if the closure is unfamiliar.
Check the valve cap and its surroundings
Look up the cap sequence for your model. Some need the cap tightened after removing air. Others have a different closing action. Check that the accessible parts are clean and seated as the instructions show. Leave the internal valve parts alone unless the manufacturer specifies a procedure. Forcing a nozzle or overtightening the cap can damage the parts you need to seal.
Look where the valve sits after the bag is compressed. A shelf above or a second bag can press on a cap that projects. Put the bag in a position that leaves the valve clear and lets you grip the sides. Check the fit before you add another bundle. If a cap or valve is visibly damaged, ask the maker whether it has a suitable replacement.
Inspect the seams, film and shelf before replacing the bag
Open the bag and inspect the film in good light. Look along the welded seams, around the valve and at the creases that bear against the shelf. Check the route into the cupboard for burrs, screws or rough timber. Check the contents for a hard corner or a protruding fastening. A new bag can develop the same problem if it follows the same path.
Change one thing at a time. After resealing on the table, put the bag on a smooth clear shelf where it can be removed without scraping. If the bag still expands after you have checked the zip, cap and loading, use the manufacturer's support or replacement advice. Keep the bedding in a suitable temporary case while you resolve the problem. Choose a handled fabric case where frequent access makes repeated resealing impractical.
If you keep several bags in the same cupboard, test the suspected one by itself and keep a note of the load. That makes it easier to separate a bad seal from pressure from the bags above. For the shelf fit, use the shelf measuring guide and check the valve and folded edges as part of the outside shape.
Questions before you choose
Why does the bag fill again as soon as I stop vacuuming?
Check the zip and whether the valve is assembled and closed as directed. A large gap can let air back in quickly.
Do I need to vacuum it harder?
Start by checking the closure and the fill level. More suction does not repair an open seam or damaged film.
Can overfilling cause reinflation?
Yes. Material pressing across the zip can prevent the tracks from closing all the way. Repack below the fill line.
Should I take out a foam seal to check it?
Leave internal parts in place unless your exact instructions call for removing them. Check the accessible cap and connection first.
Can I repair a punctured storage bag?
Follow the maker's repair or replacement advice. Move the bedding to another bag if damage keeps the original from sealing.
What if it only happens after I put the bag away?
Check the shelf lip, screw heads, corners and pressure on the valve. Try a clear smooth spot with room for the whole bundle.
How we put this guide together
We used troubleshooting and sealing guidance from Packmate, Neusu and the vacuum bag makers' instructions. The checks identify likely fault locations without assigning an expected seal life to any bag.