
How to stop drawer organisers sliding
Diagnose a drawer tray that shifts, rattles or catches. Compare better layouts, connected trays and removable grip liners without losing closing clearance.
The main decision
Find out what moves before adding grip
Open and close the drawer gently to see whether individual trays drift, a whole group moves or a tall item catches. Adjust the layout first. Where you need extra grip, use a compatible removable liner or the feet supplied for the tray and check closing height again.
Watch what moves in a normal opening
Empty any fragile pieces and open and close the drawer gently a few times. Watch the position of each tray relative to the front. Put a small loose paper marker beside a tray if the movement is hard to see. Note whether one tray drifts away from the others, a whole group slides forwards, or the drawer gets stiff at a particular point. Start with the drawer as it actually opens rather than pulling it farther than normal.
If a tray jumps or knocks only near the end of closing, look for contact with the cabinet. A tray corner, handle or object can catch on a front rail and drag the tray out of place. Remove the tallest item and check the empty tray gently. Use the drawer measuring guide to identify the lowest closing point. A liner that raises the insert could make contact worse.
If the drawer moves roughly even when empty, check the furniture instructions for the runners and stops. Clear loose items that have fallen behind a tray. Keep installed fittings in the positions the maker specifies. Fix the drawer movement before trying to fit more tightly around it.
Change the layout before adding materials
Put the tallest and heaviest groups where they sit steadily and where you can lift them easily. Bring small trays closer together if they have long distances to slide into. Leave a deliberate grip space at the side or front instead of several scattered gaps. If the trays spread apart each time you open the drawer, see whether a compatible modular tray set can connect the sizes you need.
Keep the gap that makes removal possible. A tray wedged against both sides can be difficult to clean or may strain the drawer sides. Check the actual shape of the base, including screws and curves. Try a paper template to see whether a piece can shift into a different part of the drawer. The layout guide shows how to map the grip and the reach separately.
For lines of folded clothes, an adjustable divider can replace several loose trays when the end surfaces support the intended fitting. Check the adjustment range and the panel height. Follow the specified method for setting the end pads or lock. Tightening against a thin panel can damage the furniture.
Choose grip that suits the drawer base
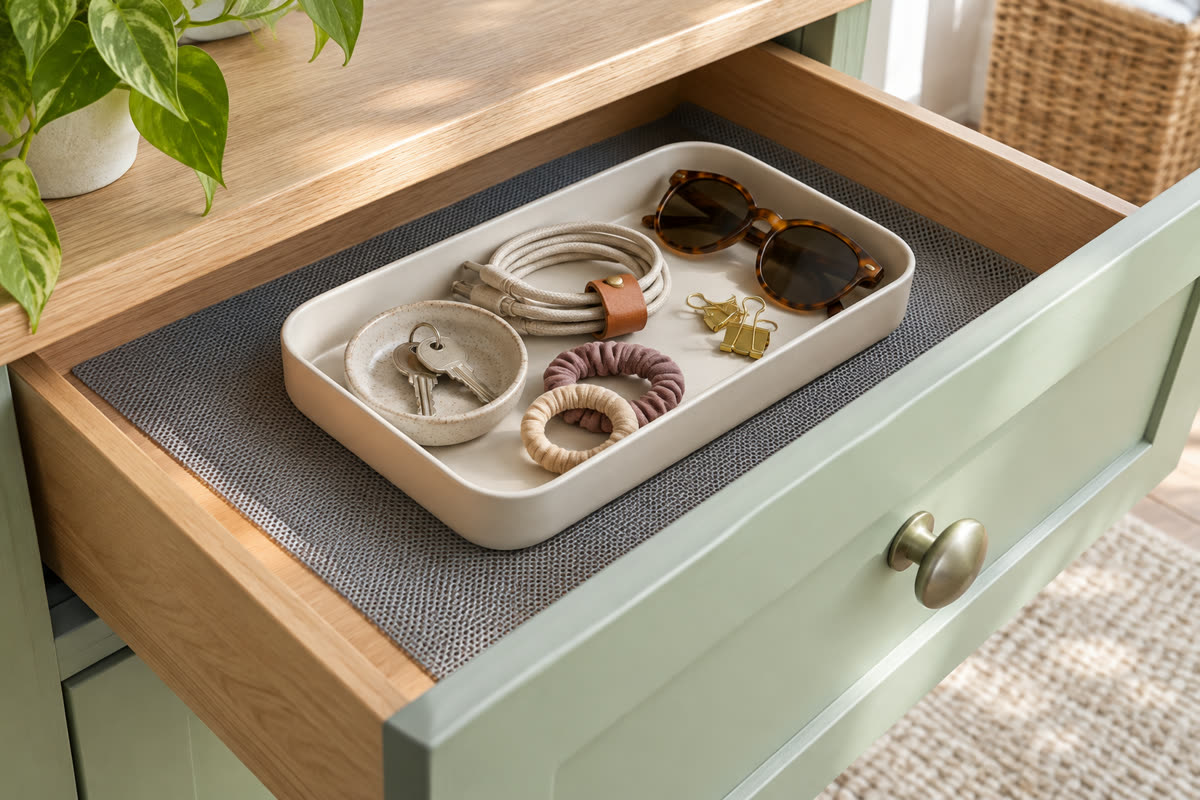
Look for feet supplied for the tray before adding a separate material. Check whether they should sit on clean, dry and level surfaces, and follow the fitting directions. A compatible liner can be helpful where several trays all move on the same smooth base. Use one that lies flat in the drawer and that the furniture maker allows on the finish. Check for care restrictions on varnish, painted surfaces and soft linings before putting a liner or adhesive pad against them.
Measure the liner to the usable base rather than the outside drawer front. Leave it flat around fixings and corners. A curled edge can catch a tray and a bunched layer can change closing clearance. Try the empty trays on it before returning the contents. Check that the liner itself stays in position and that it can come out for cleaning.
Recheck loaded height and repeat the movement
Open and close the drawer with a normal load. Take out the tray you need most often, then return it without pushing its neighbours out of place. If the tray still moves a little but stays clear of the cabinet and remains easy to reach, keep the space for removal. If its contents topple, use a more suitable compartment or lower the stack.
Check after the drawer has been used and cleaned a few times. If grip pads start to lift, follow their care or replacement directions. If the arrangement needs too many fixes, try fewer shallow trays or a different combination of rows and lift-out groups.
Questions before you choose
What is the easiest way to keep trays from sliding?
Start by grouping them in a layout with less spare travel, or use the connectors supplied for compatible trays. Add grip only if the remaining movement affects use.
Can I use a non-slip liner under organisers?
Use a liner suitable for the drawer finish and the organiser. It must lie flat, and its thickness counts towards closing height.
Why does the entire organiser move even when the trays clip together?
Connectors hold the trays together. The combined group can still slide if its footprint leaves room to move or its underside has little grip.
Should I tape organisers in place?
Use the fixing method approved for the product and surface. A removable layout or compatible liner is easier to change, especially on a coated drawer base.
Will gripping pads stop rattling?
They can help if a tray is moving on a suitable surface. If a rim or handle is striking the cabinet, fix the clearance first.
What if the drawer itself feels loose?
Check the furniture instructions for the runners, fixings and stops. Resolve any drawer fault before adding a tighter organiser.
How we put this guide together
The examples are illustrative. We separate movement between trays from movement between the tray and the drawer base, and account for the thickness of anything added.