
How to organise shoes in a hall cupboard
Check the doorway, hinges and closed depth before arranging dry shoes on existing shelves or adding a rack inside the cupboard.
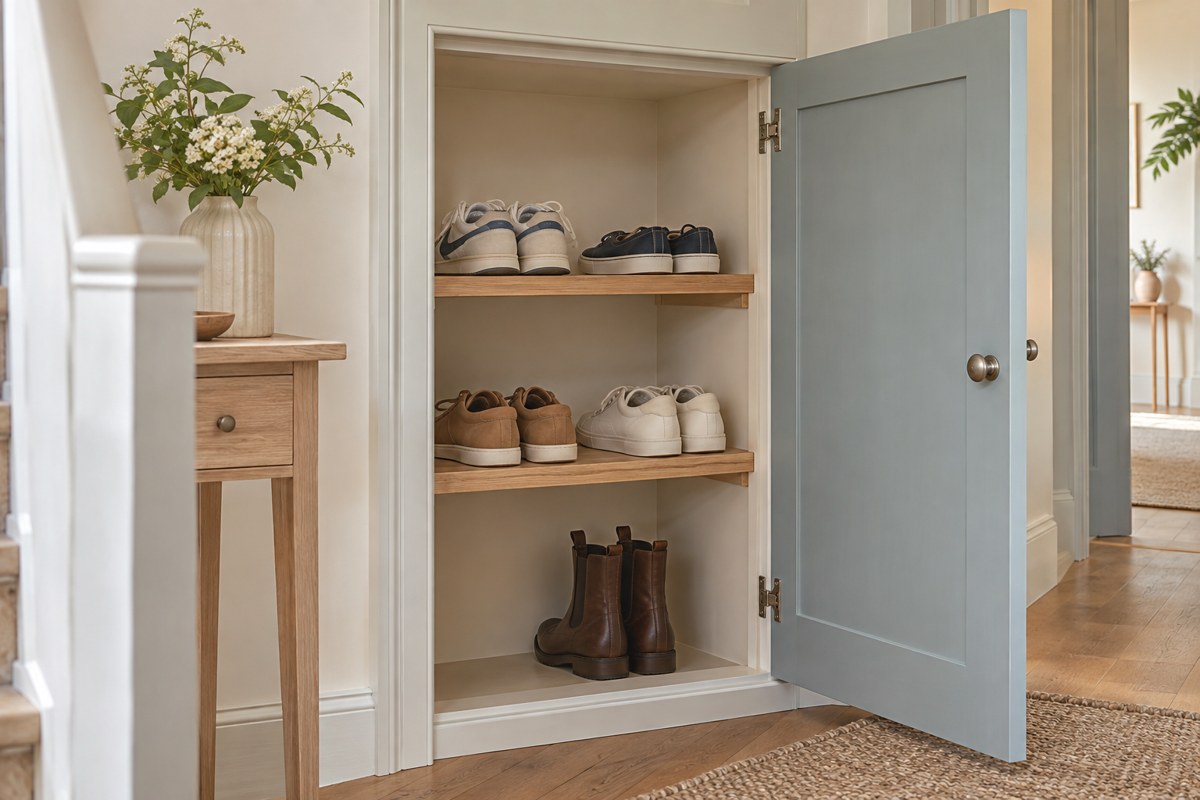
The main decision
Measure the opening as well as the shelves inside
Check what can pass the open door, what fits behind it when closed and what you can reach. Put daily dry shoes at the front and allow space to lift tall pairs out.
Measure the doorway and the space inside separately
Open the cupboard door as far as you normally can. Measure the clear width between the door edge and the opposite jamb. Check the width at shelf height and lower down, where hinges, stops or skirting may take up space. Then measure the width inside the cupboard. A large shelf can be easy to load with individual shoes but too wide for a rigid insert to pass through the doorway fully assembled.
Check the usable depth from the back wall to the inside of the closed door. A hinge, latch or projecting trim can reduce it at a particular point. Mark the shallowest line at the shelf heights you plan to use. Put a pair on the shelf and close the door gently to see where the toe, heel or upper approaches the door. Use the hallway measuring guide if the open cupboard door also affects movement in the hall.
Check where the cupboard door sits when open. If you have to move it again to reach the back corner, give that corner the pairs you use least. An additional shelf will only help if you can place and remove shoes without leaning around the open door or changing the layout of the hall every time.
Match the shelf support to the shoes
Start with the largest dry pair. Place it in the orientation that leaves the soles supported and the door clear. A shallow shelf may fit shoes sideways, but try that layout before allowing for a particular number of pairs. Keep each pair together so the second shoe does not end up behind a bag. On wire or rail shelves, check the contact points for small soles, heels and flexible shoes.
Use the most accessible level for the shoes you reach for every day. Leave tall bays for boots that need more headroom or room to lift their shafts out. An adjustable shelf can be useful when seasonal footwear changes, provided the cupboard maker permits the adjustment and the supports stay fully seated. Compare the underside clearance and shelf depth before buying an extra shelf or insert.
Choose between a fixed shelf and an insert
An existing fixed shelf may only need a clearer layout. Where it is deep enough, put occasional pairs to one side in a group you can lift out. Keep daily pairs in the front row. If a freestanding rack will sit on the floor inside, measure its outside footprint and the full loaded depth before buying. Check that its legs sit flat and that its instructions allow the installation you have planned.
Before adding a rack, see whether a spare shelf position can be reused. Measure from the top of the shoes below to the underside of the proposed shelf and allow room to lift each pair clear. A double row can make sense for occasional pairs if the rear group can be lifted separately. With daily shoes, try a single row where you can see and retrieve both shoes from the front. Keep any floor-level access required by the cupboard’s fittings.
If a shelf is tall enough, an individual shoe caddy can hold a low-profile pair in part of the shelf width. Joseph Joseph’s Shoe-In Compact has a flip-up upper tier. Check the height with the pair in place and the movement above the caddy before lining up several. A regular shelf position is usually easier for high-tops or boots.
Group low-profile pairs on one shelf
Joseph Joseph Shoe-In Compact caddies
Six individual caddies for low-profile shoes. The upper tier flips up to give access to the lower shoe.
- Outside · W × D × H
- 14.7 × 26.2 × 18.7 cm each
- Access
- Flip-up upper tier
- In the pack
- Six caddies
What to check Allow room for the shoe on top and for the upper tier to move. Try low-profile shoes and give boots their own space.
View on Amazon — Joseph Joseph Shoe-In Compact caddiesAn integrated pull-out is useful where an existing cupboard system supports one. Check the exact frame size, mounting positions and the door and hinge geometry. A tray made for a specified modular wardrobe frame is a compatibility example, so verify the parts for your own unit rather than comparing the advertised width alone. When it opens, check where the handle and the front of the tray land and whether you can stand there and lift the pair out.
Keep dry pairs easy to return
Clean and dry shoes as directed before closing them in the cupboard. Set aside wet pairs in a suitable ventilated place first. If every pair has to move to reach the back row, move the least-used group to a separate under-bed shoe case if its care allows it. For busy front doors, keep a small daily rotation outside the cupboard only where the passage permits it.
Test the routine with the household’s usual bags and coats in place. If there is room to open the door but a coat covers the shelf, put shoes lower or move the longest coats to a different section. Review the layout when the season changes or a new large pair arrives. Households with several users can apply the shared shelf allocation method inside the cupboard, using the clear width and the access each person actually has.
Questions before you choose
How deep does a hall cupboard need to be for shoes?
Measure the depth with the door closed and check the longest shoe in the intended position. Include the hinges, trim and any toe or heel projection.
Can a rack fit inside but fail to get through the door?
Yes. The jamb and the edge of the open door can narrow the opening. Check the turning path and the assembly sequence before buying an insert.
Can shoes be stored sideways?
Try the actual pair on the shelf. Check that the sole has stable support and you can see and lift both shoes without moving the next pair.
Will a wardrobe pull-out fit a hall cupboard?
Only when the frame, mounting positions, dimensions and hinge clearances meet the fitting requirements. Check the exact system.
Where do tall boots go?
Use a suitable low or tall bay with enough room to lift the boots out without creasing the uppers. Follow the footwear maker’s care guidance.
How do I stop shoes at the back being forgotten?
Use a single front row for daily pairs and put occasional pairs in a separate group you can lift out in one move.
How we put this guide together
We used manufacturer fitting documents to check how frame and pull-out compatibility is described. The door and shelf sizes illustrate measurement points for a cupboard you already have.