
Best wall-mounted shoe racks for hallways
Compare individual shoe holders, shallow pine racks and open metal shelves. Check loaded projection, fitting position and room to lift shoes out.
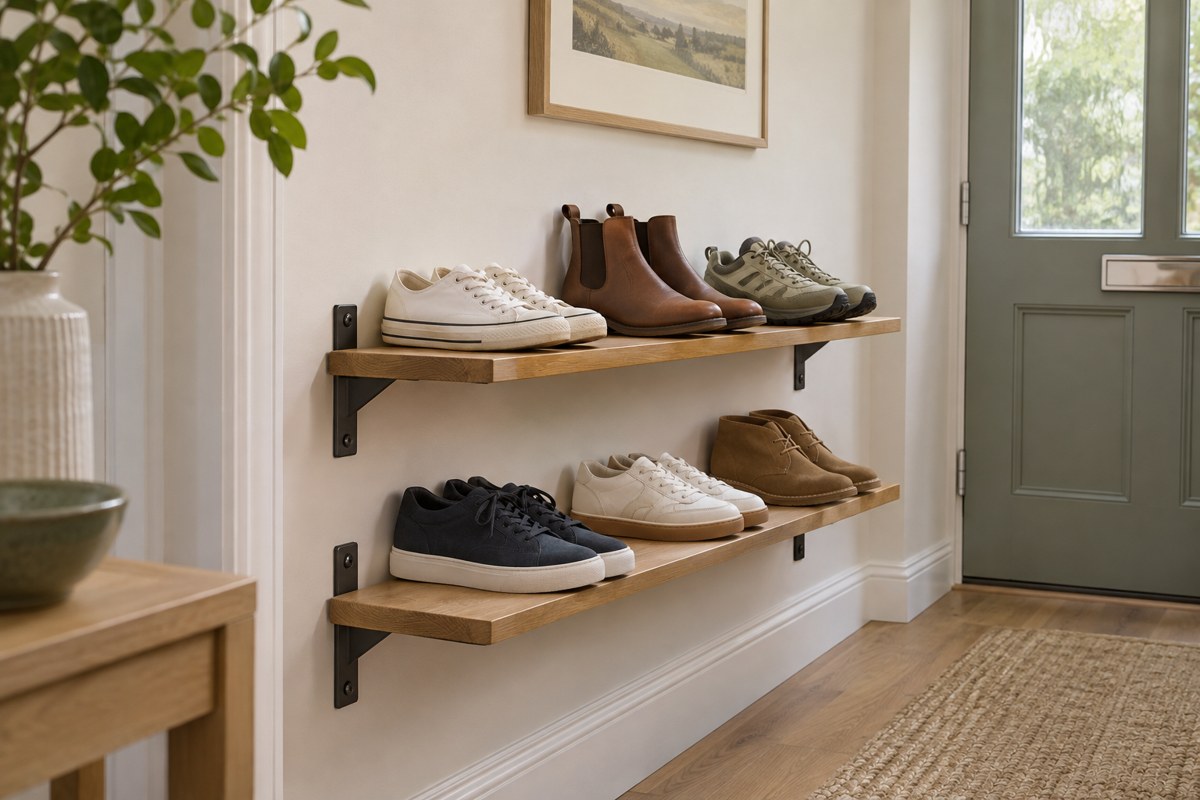
Three ways to hold shoes off the floor
Dimensions describe one holder or rack. Include the shoes and the way you remove them when checking the route.
Individual pairs at separate points
Gedotec single-pair wall shoe holders
Four separate steel holders, each made for one pair. Shoes sit angled on the open wire supports.
- Frame · W × D × H
- 13 × 10.5 × 18.5 cm each
- Access
- Individual open supports
- In the pack
- Four holders
What to check Try the actual shoe shape on the supports and include the loaded projection. Use the specified mounting method on a suitable surface.
View on Amazon — Gedotec single-pair wall shoe holdersA shallow wall frame with a front rail
vidaXL wall-mounted pine shoe racks
Two white pine frames with an open top and front rail. Each has a published frame depth of 9 cm.
- Frame · W × D × H
- 59 × 9 × 23 cm each
- Access
- Open top and front rail
- In the pack
- Two racks
What to check Check how each shoe sits and projects once loaded. The maker specifies suitable wall screws and plugs separately.
View on Amazon — vidaXL wall-mounted pine shoe racksFull-width shelf support
IBUYKE extendable wall-mounted shoe racks
Two metal units with two open tiers each and a published width range of about 41–73 cm.
- Frame · W × D × H
- Approx. 41–73 × 28 × 20 cm each
- Access
- Open metal shelves
- In the pack
- Two two-tier racks
What to check Choose the width before marking the fixing points. Check the frame and loaded shoes against the wall and remaining passage.
View on Amazon — IBUYKE extendable wall-mounted shoe racksSide-by-side dimensions
Scroll sideways to see all columns.
| Rack | W × D × H | Pack | Support |
|---|---|---|---|
| Gedotec | 13 × 10.5 × 18.5 cm | Four holders | Angled wire supports |
| vidaXL pine | 59 × 9 × 23 cm | Two racks | Shallow front rail |
| IBUYKE | Approx. 41–73 × 28 × 20 cm | Two racks | Two shelves per rack |
Check the wall and the position of the shoes
Mark a place where you can reach footwear and the door can open fully. Measure usable wall width at the height of the proposed brackets. Include door trim, switches, skirting and a handrail where relevant. On a stair wall or short return, the available space can change as you move the rack higher. Check the open door with the longest pair in its intended position. At a higher mounting position, a shoe may project where a person carries bags even when the floor below is clear.
Check the wall construction and the manufacturer’s fixing instructions before buying. Some units supply fixings and others leave wall-specific hardware to the installer. Choose an installation that can be completed as directed for the wall and expected load. If the wall, fitting positions or nearby services are unclear, get help from a competent installer. If you rent, confirm any permission needed for the installation.
Choose how the shoes will be supported
Measure the pair you plan to use most and compare its profile with the mounting style. A deep open shelf can support a flat sole, while a shallow rail or angled holder supports the shoe differently. Check the heel, toe and upper against the product drawing. A small foot may need closer supports. A thick or stiff upper may be harder to put into a narrow frame and lift out without hitting the next unit.
Try the layout with a template before marking holes. Use cardboard to show the width and loaded projection of the rack and mark the highest point of the shoes. Allow space above that point to lift the pair clear. For two units on the same wall, try the lower one with a shoe in it and check how much space remains below the upper one. Set each where its regular user can reach it without stretching or leaning on the rack.
Compare individual holders, shallow frames and shelves
The Gedotec four-pack provides four separate single-pair holders. The steel supports hold shoes at an angle, and each frame is 13 cm wide. This can work on short patches of wall or inside a cupboard where the panel and its fittings permit installation. Allow for the shoe itself on either side and in front of the wire support. Try the shape before deciding whether it suits chunky footwear.
The vidaXL pine set gives you two 59 cm-wide shallow frames with a front rail and open access above. The 9 cm figure is the depth of the frame. Test shoe projection and whether the shoes enter and lift out easily. The maker specifies choosing screws and plugs suitable for the wall separately. Include the height of the rail and the protruding shoes in the layout.
The IBUYKE set gives you two metal units, each with two tiers and an adjustable width of about 41–73 cm. Compare it where the wall can accommodate deeper shelves with a supported sole. Decide the width and check fixing positions before installation. Leave enough room between the two units for the intended shoes and for your hands. If you need width adjustment without installing a wall unit, see the freestanding extendable rack comparison.
Check the loaded hallway before filling every position
After the unit is fitted as directed, try a representative pair and check that the shoes sit securely in the intended orientation. Test removal without pulling on the mount and repeat with the largest pair. Open the front door and any nearby cupboard. Keep the entrance and route clear while the rack is loaded and while someone retrieves a pair. The hallway measuring guide shows how to trace the door and compare the remaining passage.
Use the shelves and holders within their documented limits. Keep wet shoes in a suitable drying place until their maker’s instructions allow storage. Give the easiest reach to the pairs that leave the house most often. If the wall position works for only a few pairs, move the occasional ones to a separate cupboard layout. This can keep the entrance floor clear without adding more fixtures along the route.
Questions before you choose
How much will a wall-mounted rack stick out?
Measure from the wall to the furthest part of a shoe in its intended position. Include any bracket, heel or toe that projects past the frame.
Can I mount a shoe rack behind a front door?
Check the complete door sweep and the loaded shoe projection at the proposed height. Keep the door usable and the escape route clear.
How far apart should I mount two racks?
Test the tallest shoe on the lower rack and allow room to lift it out without catching the upper rack. Follow the installation requirements for each unit.
Can a shallow shoe rack hold chunky trainers?
It depends on the shoe profile and how the rack supports it. Compare the dimensions and openings with the actual shoes before ordering.
Which wall fixings do I need?
Use the product’s fitting instructions and fixings suitable for the wall construction and expected load. If the wall or fitting is unclear, get help from a competent installer.
Can I install a rack inside a cupboard?
Check the panel or wall, mounting instructions and door clearance. Allow for loaded depth and the movement needed to lift the shoes out.
How this shortlist was assembled
We compared three exact Amazon UK packs, the vidaXL fitting guidance and the selected listings’ dimension drawings. We used the frame dimensions and checked that each rack supports shoes in a different way. Loaded projection depends on the pair.